How to Upgrade Your IGetMail Software to Version 5.1
Some current IGetMail users will be able to apply the upgrade to IGetMail
version 5.1 at no charge.
If you have purchased a version 5.0 license of IGetMail then you can upgrade to version 5.1 at no charge.
If you are running any version of IGetMail prior to version 5.0, you will need to purchase an upgrade license at a discounted price in
order to apply the upgrade.
If you have purchased a version 5.0
license key - click here
to read the upgrade instructions (Free upgrade)
If you have purchased an IGetMail
license prior to version 5.0 -
click here to to read the upgrade instructions (Needs to purchase upgrade
license)
Upgrading from an IGetMail version 5.0 license
Note - You will not need to re-boot your system at any point during the
upgrading process.
- Download the new igmsetup.exe
file to the computer that is currently
running IGetMail. Please note that the IGetMail Setup program
automatically detects the presence of a prior version of IGetMail and
will install the new version in the same directory as the old version
resides.
- Double-click the igmsetup.exe file to begin the upgrade process.
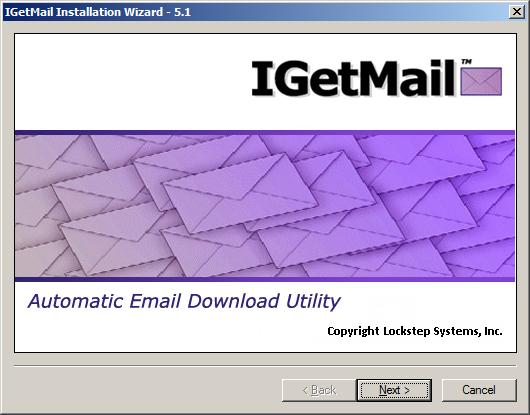
- Now you see the opening screen to the Installation Wizard. Press Next
to proceed.
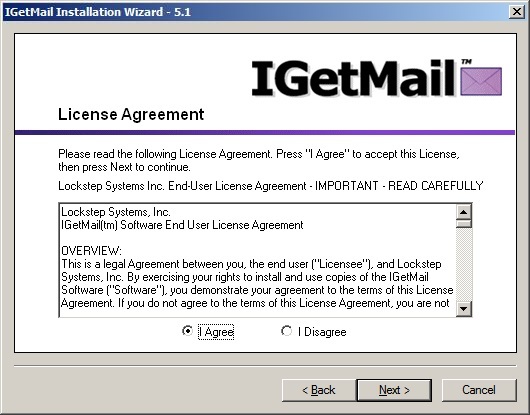
- At the License Agreement screen, press I Agree and then press Next.
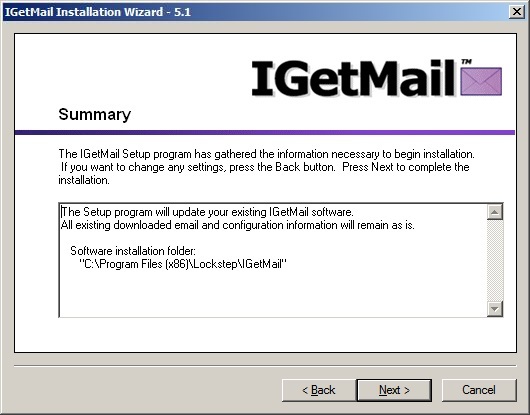
- Review the Summary information. If you would like to make any changes
before IGetMail is updated on your computer, you can press the Back button.
If you would like IGetMail to start copying its program files now, press Next.
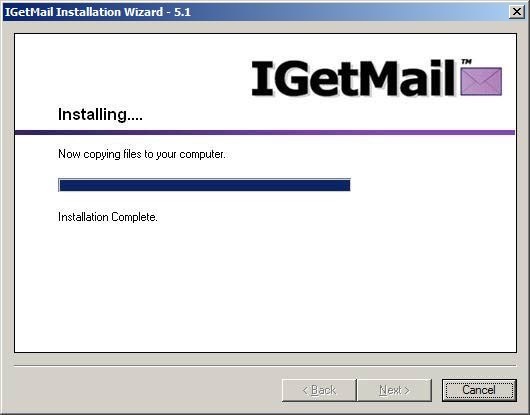
- IGetMail shows you a progress bar while installing its program files to your
computer. When all of the files have been copied to your computer, you
will be able to press the Next button.
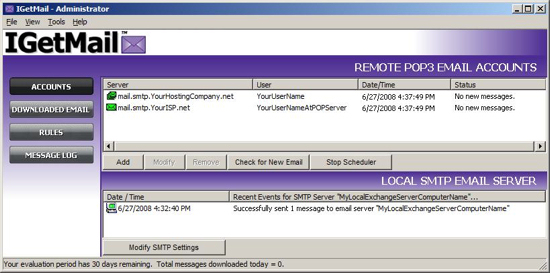
- Now you see the IGetMail Administrator program. The
information in the Accounts Panel should be exactly what you had before
upgrading.
Upgrading from IGetMail with a
license prior to version 5.0
You will need to purchase an upgrade license key in order to use the new
IGetMail version.
Please visit this webpage to go to the IGetMail
upgrade order form. Once you receive your upgrade license key via
separate email, you will be ready to follow the steps below. The upgrade
key will replace your existing IGetMail license key and you will need to enter
the upgrade key into the IGetMail Setup program.
Note - You will not need to re-boot your system at any point during the
upgrading process.
- Download the new igmsetup.exe
file to the computer that is currently
running IGetMail. Please note that the IGetMail Setup program
automatically detects the presence of a prior version of IGetMail and
will install the new version in the same directory as the old version
resides.
- Double-click the igmsetup.exe file to begin the upgrade process.
- Now you see the opening screen to the Installation Wizard. Press Next
to proceed.
- At the License Agreement screen, press I Agree and then press Next.
- Review the Summary information. If you would like to make any changes
before IGetMail is updated on your computer, you can press the Back button.
If you would like IGetMail to start copying its program files now, press Next.
- The setup program will detect whether your existing license key was
purchased before IGetMail version 5.0. Then the setup program will
display a dialog box where you can now enter the upgrade license key.
If you have not already purchased your upgrade license key, then do so
now by going to the purchase tab at the top of this page and then fill
out the order form to purchase an IGetMail upgrade. Once you have
your upgrade key, you will enter it now.
- IGetMail shows you a progress bar while installing its program files to your
computer. When all of the files have been copied to your computer, you
will be able to press the Next button.
- Now you see the IGetMail Administrator program. The
information in the Accounts Panel should be exactly what you had before
upgrading.
|