How to Download Gmail Email to Exchange
What is Google Gmail?
Google provides two types of Gmail accounts.
- Standard Gmail Accounts - These are individual email accounts that are
setup for a single person to receive email. Typically the standard
Gmail accounts are used by people to send/receive personal email. The
format for a standard Gmail account is your_name@gmail.com.
Standard accounts are typically free and you can pay for additional services
if you would like.
- Google Apps Hosted Email - When you have a domain, you can use Google
Apps to host the email for your domain. When you use Google Apps, all
email directed to your domain goes to Google's email server which stores
your email. You control the email addresses which can be formatted as anything@your_domain. In this case Google acts as a traditional hosting company
for your email. Google charges a monthly fee per email account that
you host at Google.
How to Download Gmail to Exchange
Whether you use standard Gmail accounts or you have Gmail host your domain, you
can download your Gmail email to an Exchange Server. Google Gmail supports a
protocol called POP3 which allows email downloaders to pull your email from
Gmail.
Microsoft Exchange does not support pulling email from any source, instead
Exchange assumes that all email is sent to it using the SMTP protocol. In
other words, Exchange does not know how to pull email from outside sources and
it does not know how to interpret email that is in POP3 format.
To solve this problem that Exchange will not pull email from outside sources,
you use an email downloader that pulls
email from Gmail using POP3 and the downloader pushes the email to Exchange
using SMTP.
This task of pulling email from Gmail and sending to Exchange is what
IGetMail is designed to perform. IGetMail systematically pulls email from
remote locations and downloads it to your local Exchange Server for
distribution.
IGetMail comes with 3 predefined schedules to follow in order to download your
email. The default is to download your email one a minute during regular
business hours. You may change these settings to be faster or slower based
on your needs. You can even download email as fast as every 20 seconds.
The following steps walk you through setting up IGetMail to pull your email
from Gmail and deliver the email to Exchange. These
steps assume the following is already in place:
- You already have any version of Exchange (including Exchange 2003, 2007,
2010, 2016, and any other version)
installed and running.
- You have existing Gmail accounts.
Now you are ready to follow these steps to download your Gmail email.
Step 1 - Enable POP3 access in your Gmail account.
Step 2 - Download IGetMail and run the setup.
Step 3 - Configure IGetMail to pull email from your Gmail accounts and deliver the email to your Exchange Server.
Step 1 - Enable POP3 Access in Your Gmail Account
The first step to downloading your Gmail email is to make sure that you have
your Gmail account setup to support POP3 access. POP3 is a protocol used
by email programs to pull email from an email server. In order to download
your Gmail email, you must have the POP3 protocol enabled.
Open a browser and go your Gmail account.
Click here to access Gmail.
After logging into Gmail, go to Mail Settings by clicking on the small gear in the
upper right hand corner of the Gmail screen.
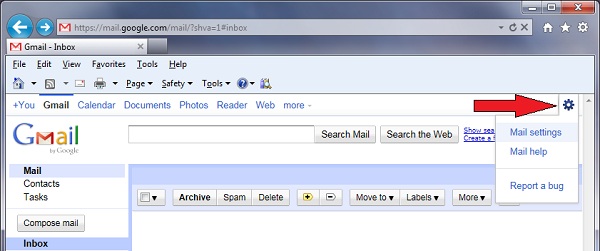
When you press on the Gear, a drop window appears. Select "Mail Settings".
Gmail will display the Settings screen.
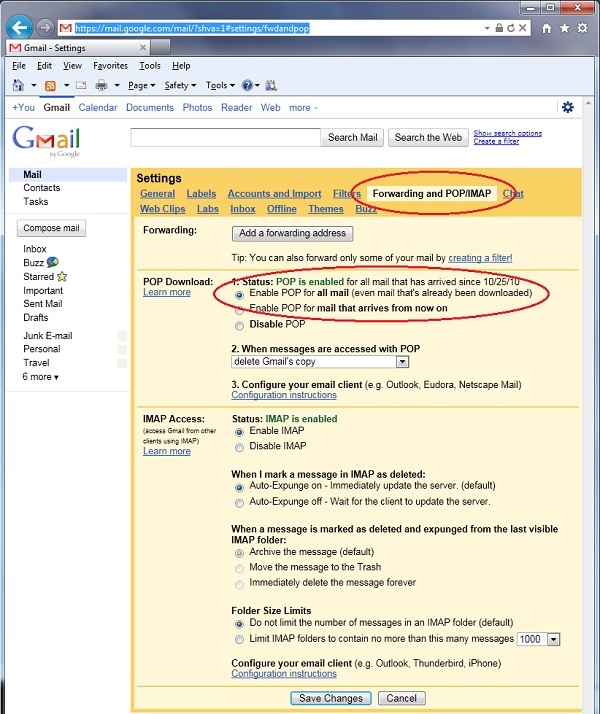
Near the top of the Settings screen is a list of options - click on "Forwarding and
POP/IMAP" as highlighted by the top red circle. In the section titled "POP Download" make sure that POP
is enabled. Now press the "Save Changes" button at the very bottom of the
Settings screen.
Step 2 - Download IGetMail and Run the Setup
Go to the computer where you have Exchange installed and download IGetMail.
Click here if you need to download
IGetMail and then return to this page once the download process completes.
Step 3 - Configure IGetMail to Pull Email from Your Gmail Accounts and Deliver the
Email to Your Exchange Server
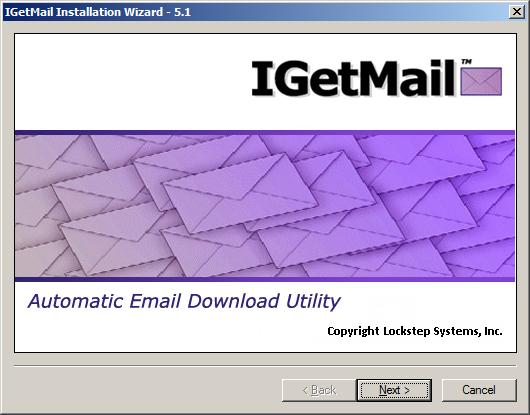
Run the IGetMail setup program:
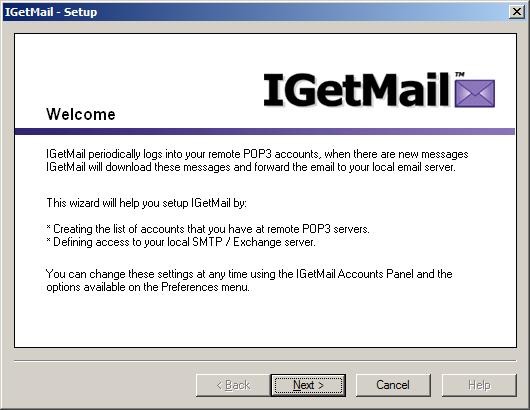
- Now you see the Installation Wizard opening screen. Press Next
to proceed.
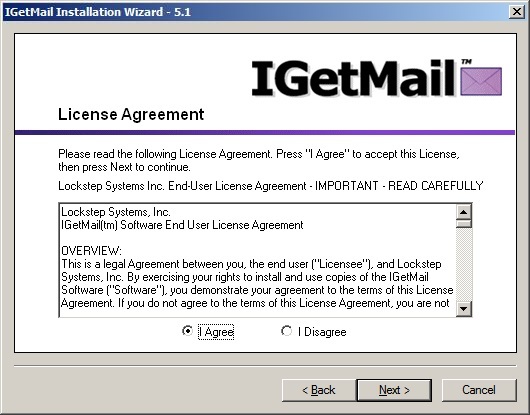
- At the License Agreement screen, press I Agree and then press Next.
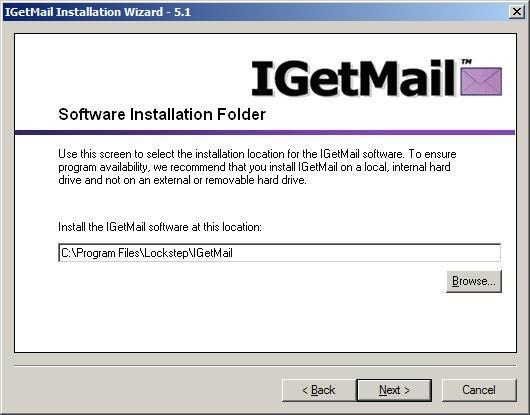
- At the Software Installation Folder, you may accept the default installation
location as suggested below or change it to another location.
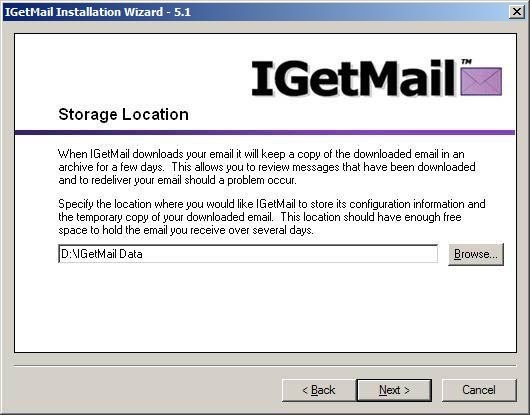
- At the Storage Location dialog, we recommend that you accept the default
location recommended by IGetMail. This is where IGetMail will keep a
limited archive copy of your downloaded email. Please select a storage
location that is fixed. Do not use a removable or external drive because
if this drive is unavailable, IGetMail will not be able to download your email.
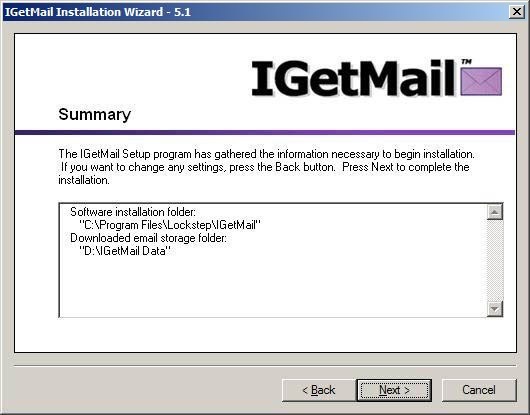
- Review the Summary information. If you would like to make any changes
before IGetMail is installed on your computer, you can press the Back button.
Press Next and IGetMail will start copying the files it needs to your computer.
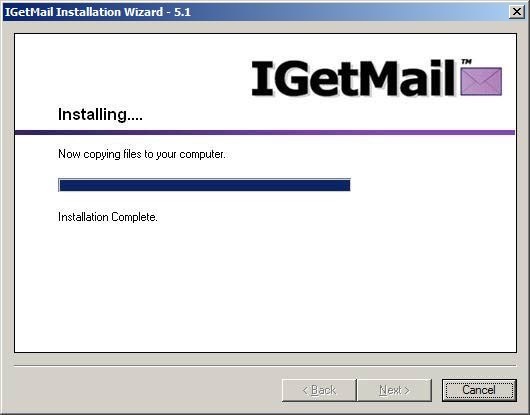
- IGetMail shows you a progress bar while installing its program files to your
computer. When all of the files have been copied to your computer, you
will be able to press the Next button.
- Now that you have IGetMail installed, you see another Welcome screen.
This is the start of what we call "The First Time Run" portion of configuring
IGetMail. Notice that the title bars now include the word "Setup."
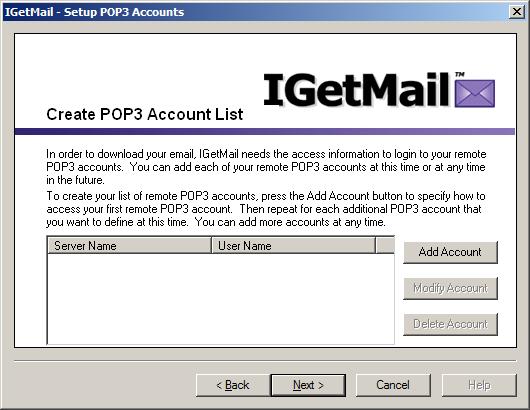
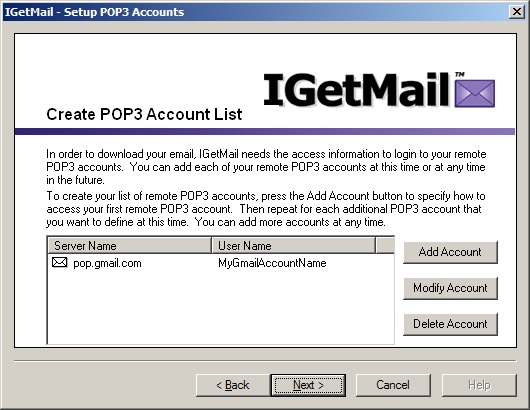
- In order for IGetMail to download your Gmail email, IGetMail needs to have a
list of your Gmail account names. Press the Add Account button now.
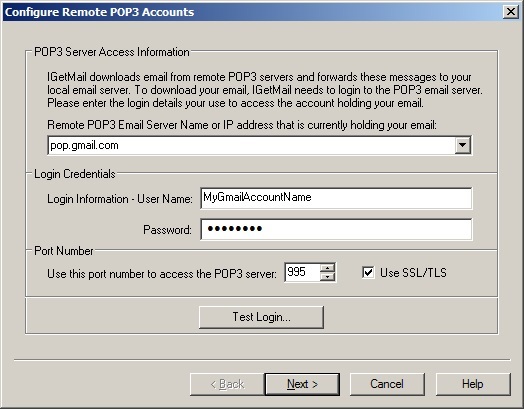
- IGetMail needs to be able to login to your Gmail account in order to
download your email. On the Configure Remote POP3
Accounts dialog, click on the drop down arrow and select "pop.gmail.com" as
the name of the POP3 Email Server. This is the name of Google's email
server when you want to use POP3 format.
In the Login Credentials portion of the dialog, enter your Gmail account name and
the Password associated with
your account.
Gmail requires SSL/TLS encryption, so be sure that the "Use SSL/TLS"
option is checked/ticked.
Press the Test Login... button after you have provided your Gmail account
name and Password. IGetMail will try logging into your Gmail account to make sure it can
download your email. If you
receive an error message indicating that IGetMail could not access the Gmail server,
please double-check this information, make any changes needed and press the Test
Login... button again. Once you have received a message indicating a
successful test login, press Next.
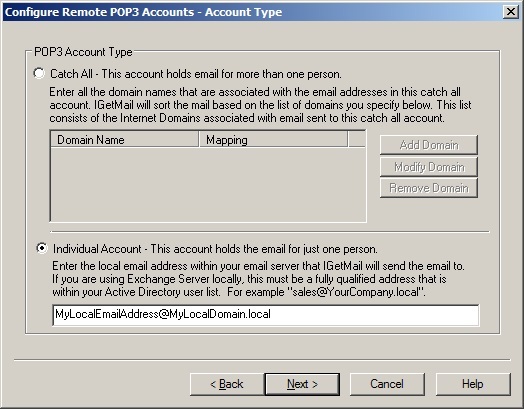
- What type of POP3 Account is this? You have 2 choices - your account
is either a "catch all" account or an "individual" account. Catch all
accounts hold email for more than one person. Individual accounts hold
mail for just one person. Most Gmail accounts only hold email for a single
user so select the "Individual Account" option.
When you select "Individual
Account", you will need to enter the email address that you want IGetMail to
send your Gmail email to inside of Exchange. The email address should be an
SMTP address that you have already setup within Exchange. In other words,
you are telling IGetMail to send your Gmail email from My_Name@Gmail.com to
My_Name@My_Domain.local in which the My_Name@My_Domain.local is an email account
that is already existing within your Exchange Server.
Once you have entered your account information, press Next to proceed to the
next screen.
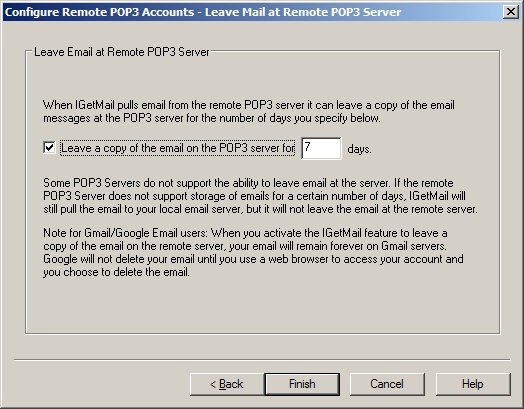
- IGetMail can leave a copy of your email at the Gmail server.
If you want to have access to your email at BOTH your local Exchange Server and
at Gmail, you can enable the option to leave your email at Gmail for the number
of days specified.
Note that Gmail has options that can override this setting. In your
mail settings at Gmail, you
can specify to have your email deleted by Gmail as soon as its downloaded or
keep copies forever independently of this IGetMail setting. You may want to check
your Gmail settings by logging into Gmail, then click on the Gear in the top
right hand corner of the screen and choose Mail Settings. Then go to the
panel "Forwarding and POP/IMAP". Look at item 2 under the POP section to
define how you want Gmail to retain your email messages or to purge your email.
Press Finish.
- Now we have defined the first Gmail account. You can add more Gmail
accounts to the list by repeating this process at this time. Or you can add more
accounts at anytime.
For our example, we are ready to proceed, so we press the Next button.
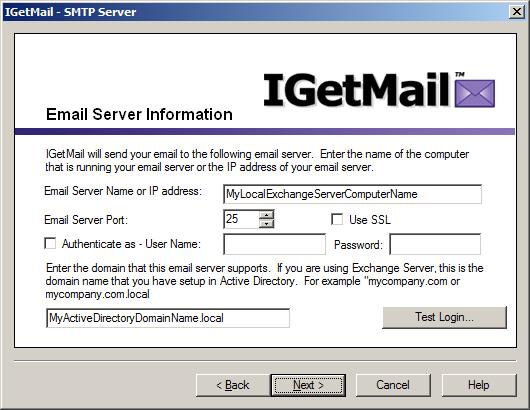
- Now we are ready to define access to your local Exchange Server (SMTP
compliant server). On the Email Server Information dialog, enter the name
or IP address of your Exchange Server. If you have an Exchange Server that
is configured to require user login authentication, you may check/tick this
option and enter the login credentials associated with an email account on your
Exchange Server that is already setup with the rights to receive email.
If your Exchange Server is configured to require SSL/tLS, be sure to check/tick the "Use SSL/TLS" option.
(Click here to read more
information about SSL/TLS.)
Press the Test Login... button to verify that IGetMail has access to your
Exchange Server. If you
receive an error message indicating that IGetMail could not access the server,
please double-check this information, make any changes needed and press the Test
Login... button again. Once you have received a message indicating a
successful test login, press Next.
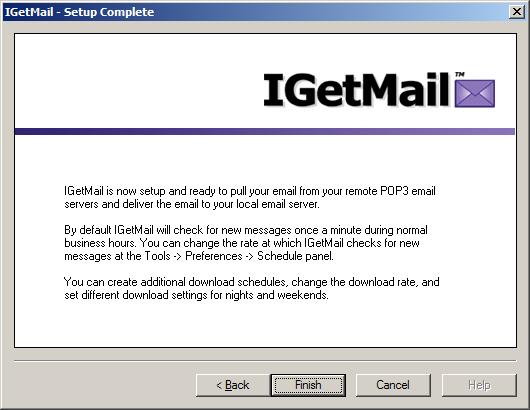
- Your initial IGetMail setup is now complete! Press Finish to proceed
to the Accounts Panel screen. At this point, IGetMail is configured to
start downloading the POP3 email from your first Gmail Account that we specified
above and send this mail to your Exchange Server.
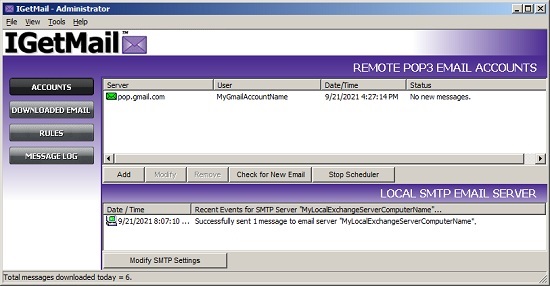
- And lastly, here is the IGetMail Accounts panel. You can use the
Accounts Panel to watch IGetMail download your Gmail email in real time.
If you have more Gmail accounts, you can add them by pressing the Add button under
the Remote POP3 Email Accounts section of the Accounts panel.
If you have been following along with these steps, you now have IGetMail
installed and it is running. It will immediately start downloading your
existing email and sending it your Exchange Server.
IGetMail comes with 3 predefined schedules to follow in order to download your
email. The predefined schedules check for mail as described below:
- Check for email every 5 minutes, all day long, Monday thru Friday.
- Check for email once a minute, from 8am to 6pm, Monday thru Friday.
- Check for email every 15 minutes, all day long, on Saturday and Sunday
only.
If you want to change the rate at which IGetMail pulls your email from Gmail,
go to Tools>Preferences>Schedule.
|