IGetMail - Easy Installation Steps
Do you want to look at what is involved with installing and configuring
IGetMail? Good idea! This page walks you through the steps you will
go through when downloading, installing and configuring IGetMail on your computer.
- Click here to download the IGetMail
software.
- Please fill out the Download Request form so we can get to know you. Please
provide your real name and email address so that we can assist you if you need
help.
- Press Run.
- Now you see the opening screen to the Installation Wizard. Press Next
to proceed.
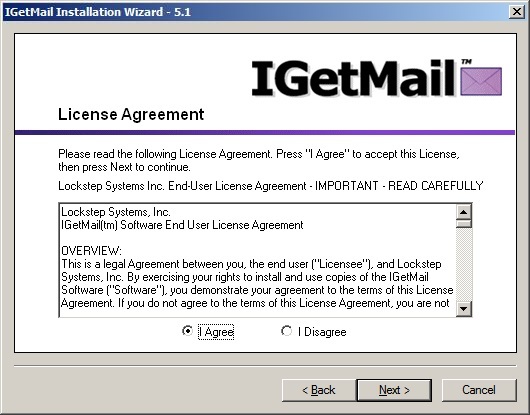
- At the License Agreement screen, press "I Agree," and then press Next.
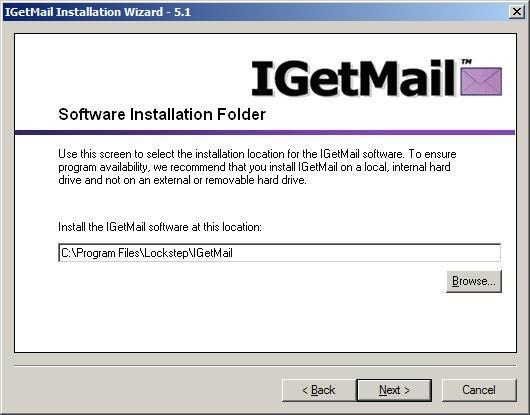
- At the Software Installation Folder, you may accept the default installation
location as suggested below or change it to another location. This is where
IGetMail itself will install.
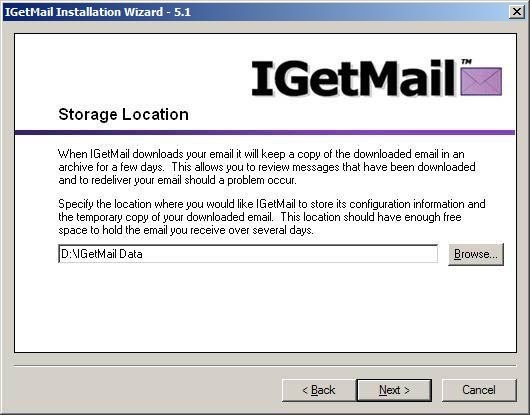
- At the Storage Location dialog, we recommend that you accept the default
location recommended by IGetMail. This is where IGetMail will keep a copy
of a limited archive of your downloaded and forwarded email. Please select a storage
location that is fixed so that you can access your email at any moment. Do not use a removable or external drive because
if this drive is unavailable, IGetMail will not be able to download and forward your email.
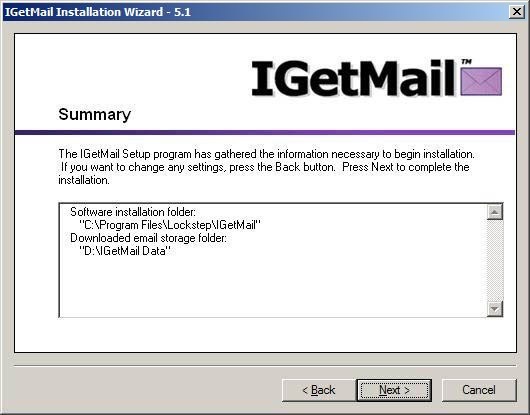
- Review the summary information. If you would like to make any changes
before IGetMail is installed on your computer, you can press the Back button. If you would like IGetMail to start copying its program files now, press Next.
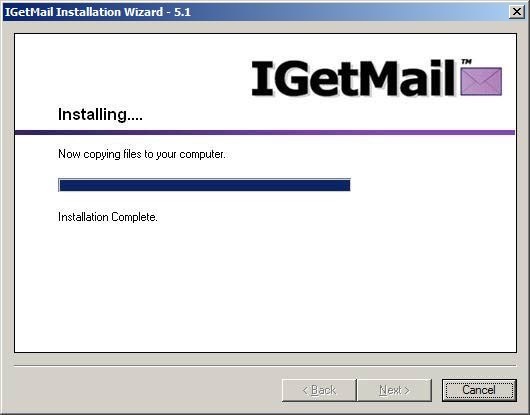
- IGetMail shows you a progress bar while installing its program files to your
computer. When all of the files have been copied to your computer, you
will be able to press the Next button.
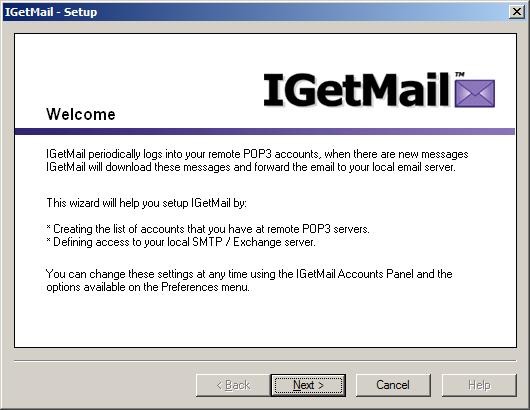
- Now that IGetMail has been installed, you will see another Welcome screen.
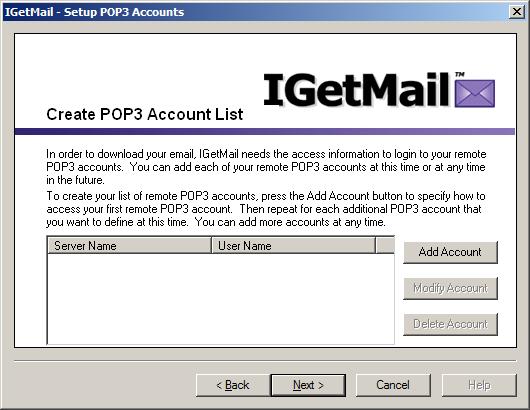
- In order for IGetMail to download your POP3 email from remote servers,
IGetMail needs to collect some information about these POP3 email accounts.
Press the Add Account button now.
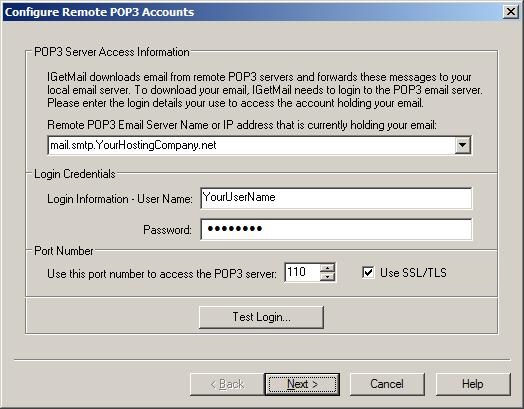
- IGetMail needs to be able to login to this particular remote POP3 email
server in order to collect your email. On the Configure Remote POP3
Accounts dialog, enter the Server Name or IP Address of the remote POP3 email
server. Be sure to provide the User Name and Password associated with
this account.
If this account uses SSL/TLS encryption - be sure to check the "Use SSL/TLS" option.
(Click here to read more
information about SSL/TLS.)
Press the Test Login button after you have provided the name of the remote
server, your login credentials, and the port number used to access this server
and whether or not SSL/TLS is utilized. IGetMail will try logging into your
remote email account just to make sure it can communicate properly. If you
receive an error message indicating that IGetMail could not access the server,
please double-check this information, make any changes needed, and press the Test
Login button again. Once you have received a message indicating a
successful test login, press Next.
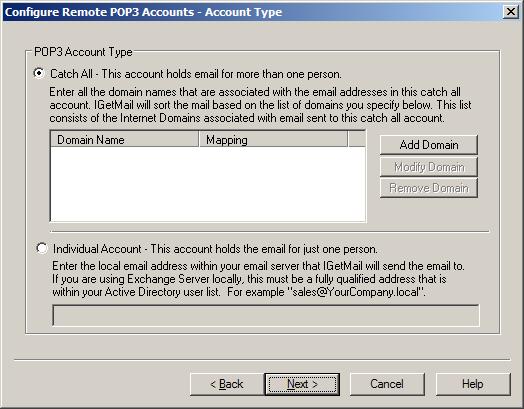
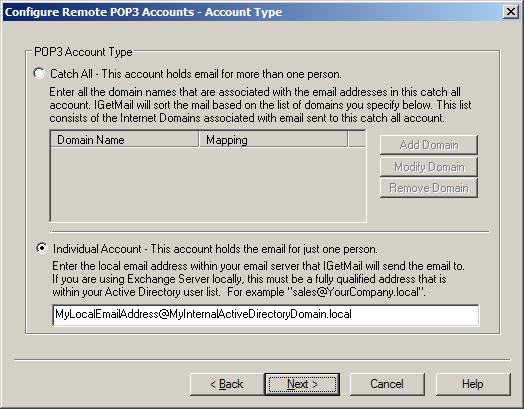
- What type of POP3 account is this? You have 2 choices: your account
can either be a "catch-all" account or an "individual" account. Catch-all
accounts hold email for more than one person. Individual accounts hold
mail for just one person. Let's assume your the POP3 account is a
"catch-all" account, receiving emails for you and your coworkers.
Select the "Catch All" account type, and then press the Add Domain button.
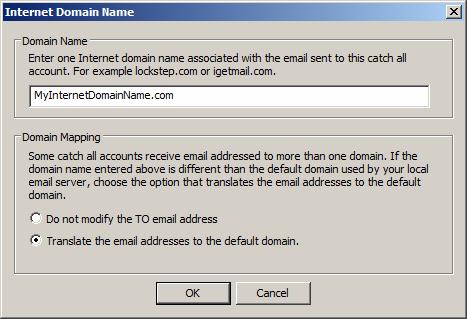
- On the Internet Domain Name dialog, enter one Internet domain name
associated with the email that gets sent to this catch-all account in the top
portion of the dialog. In the lower portion, you can specify if you need
IGetMail to perform domain mapping on your incoming email. Domain mapping
is great for translating the "to" address into your primary account's "to"
address.
If you decide to translate the email address using domain mapping, here's what
it will look like:
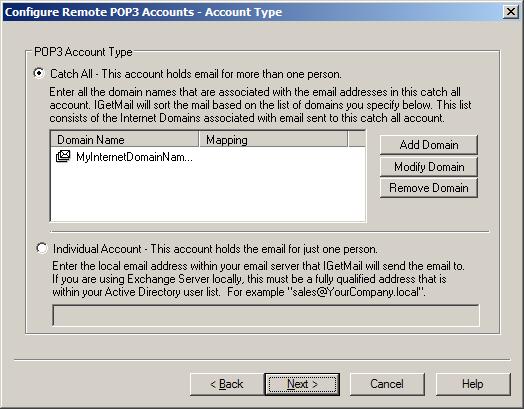
After you press OK, you can see the domain that you have added to this POP
account. If your catch-all account receives email addressed to multiple
domains, you can press the Add Domain button again to add another domain name to
the list.
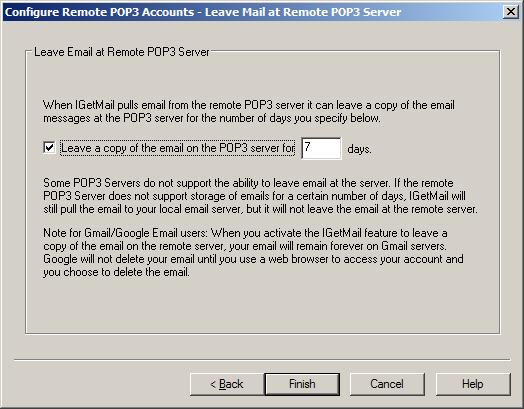
- IGetMail can leave a copy of the email at the remote email server.
Keep in mind that the remote email server needs to support this capability, and
you have to have an account at the email server with enough storage space to
leave the email there. Yahoo and Exchange both support this feature, but some
other servers do not.
Why would you want to leave a copy of the email at the remote email server?
This allows remote users to access the email in this POP account while keeping
another copy locally.
Press Finish.
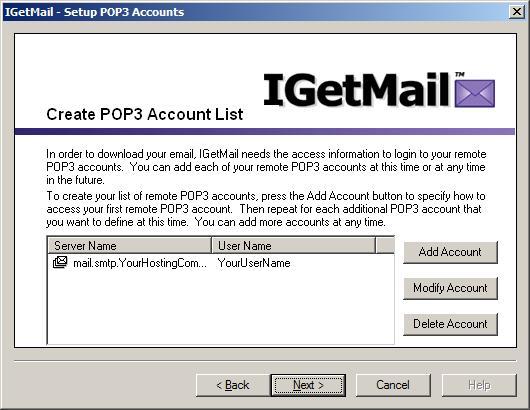
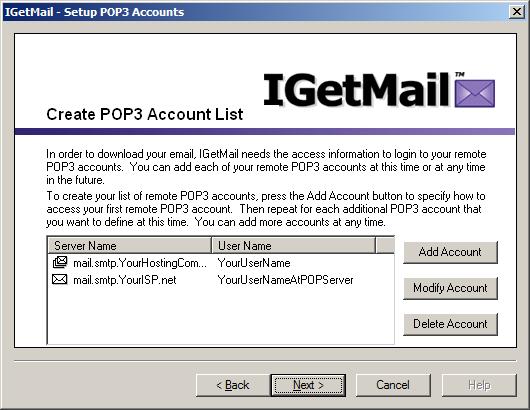
- Now you have one POP3 account inside IGetMail's Account list.
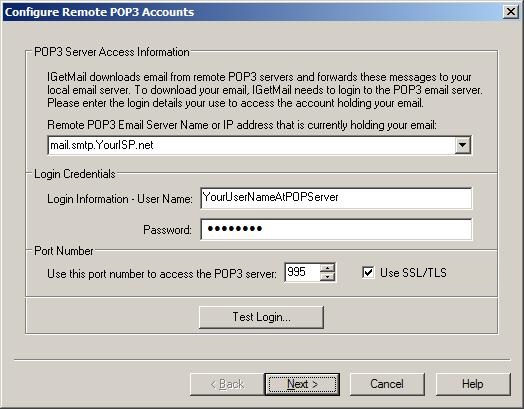
- If you need to add an individual account, press the Add Account button and enter
information about how to access this POP3 account as seen below.
To access this POP Account, the name of the remote server is "mail.smtp.YourISP.net."
We have entered our login credentials and note that we have checked the
"Use SSL/TLS" option. When we did this, IGetMail changed the Port number
accordingly.
Be sure to use the Test Login button to make sure IGetMail can login to this
POP3 Account successfully. Then press Next.
- On the Account Type dialog, we check the "Individual Account" option as
seen below. Note that we need to enter the local email address within your
Exchange Server that IGetMail will send the remote POP3 email to.
- IGetMail can leave a copy of the email at the remote email server.
Keep in mind that the remote email server needs to support this capability, and
you have to have an account at the email server with enough storage space to
leave the email there. Yahoo and Exchange both support this feature, but some
other servers do not.
Why would you want to leave a copy of the email at the remote email server?
This allows remote users to access the email in this POP account while keeping
another copy locally.
Press Finish.
- Now we have 2 remote POP3 Accounts setup in IGetMail's Account List. Add as
many accounts as you would like, and then press the Next button.
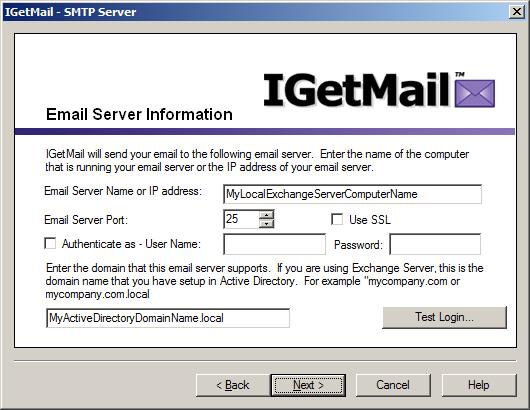
- Now we are ready to define access to your local server (STMP
compliant server). On the Email Server Information dialog, enter the name
or IP address of your server. If you have an Exchange Server that
is configured to require user login authentication, you may check this
option and enter the login credentials associated with an email account on your
server that is already setup with the rights to receive email.
If your server is configured to require SSL/TLS, be sure to check/tick the "Use SSL/TLS" option.
(Click here to read more
information about SSL/TLS.)
Press the Test Login button to verify that IGetMail has access to your
Exchange Server. Once you have received a message indicating a
successful test login, press Next.
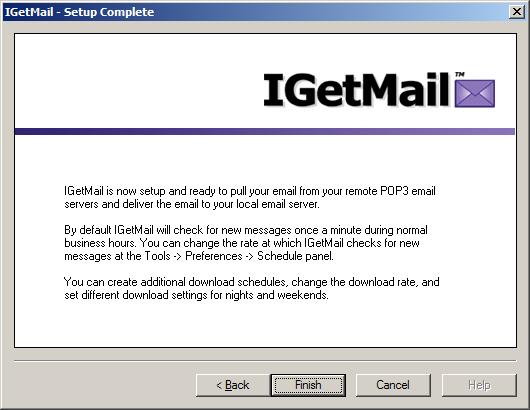
- Your initial IGetMail setup is now complete! Press Finish to proceed
to the Accounts Panel screen. At this point, IGetMail is configured to
start downloading and forwarding your email to your primary account or server.
IGetMail comes with 3 predefined schedules to follow in order to download your
email. All of these schedules are active as the default setting. You may
change these any time you would like. The predefined schedules check for mail as described below:
- Check for email every 5 minutes, all day long, Monday through Friday.
- Between 8am and 6pm on Monday through Friday, check email every minute.
- Check for email every 15 minutes, all day long, on Saturday and Sunday
only.
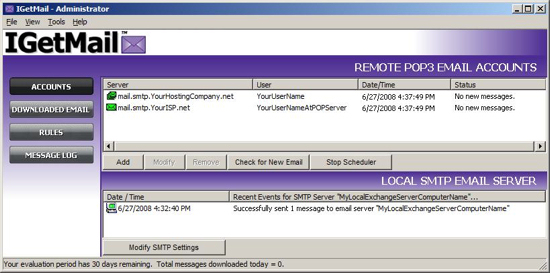
- And lastly, here is the IGetMail Accounts panel. You can use the
Accounts Panel to watch IGetMail download your email in real time.
Download IGetMail now!
You can setup IGetMail in minutes!
|